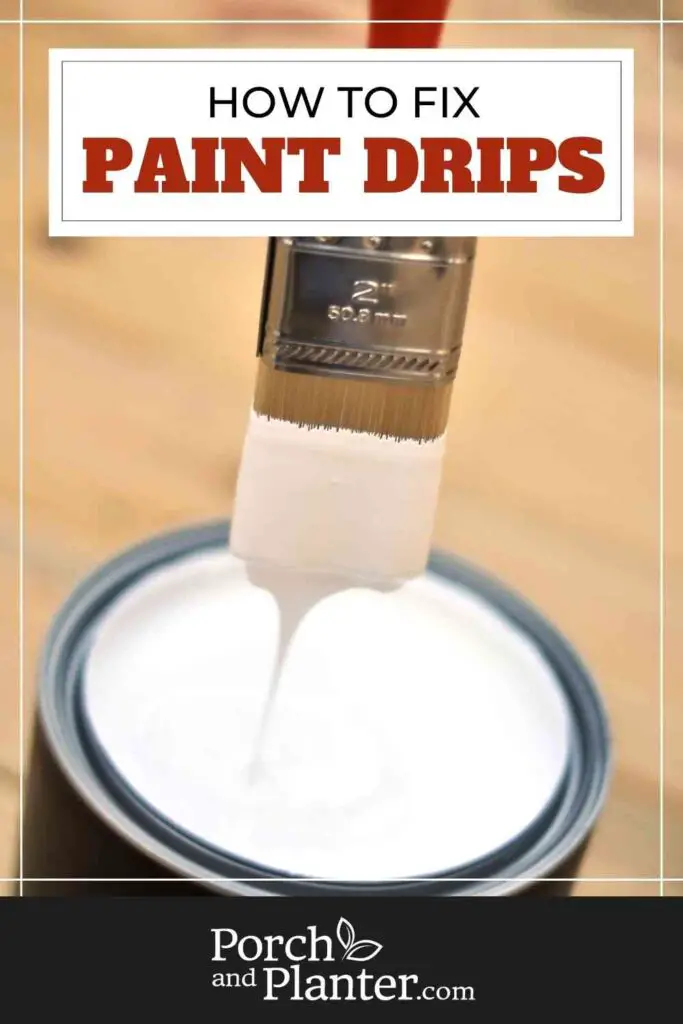
How to Fix Paint Drips
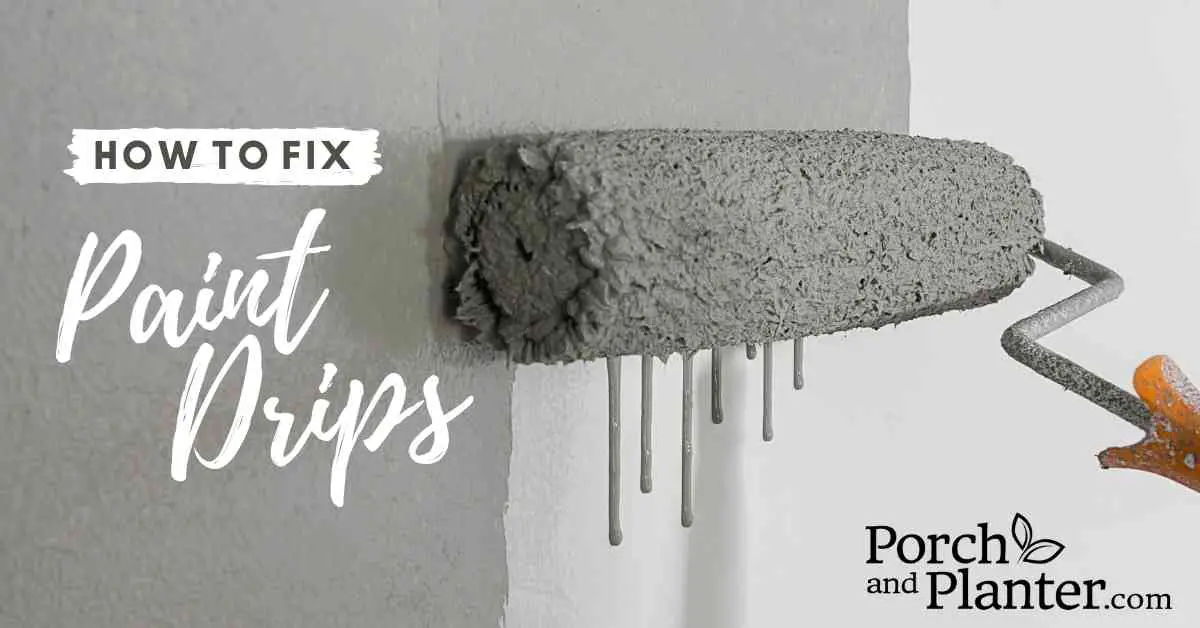
Are you tired of spending hours painting a room only to find unsightly drips ruining your hard work? Don’t worry, you’re not alone. Paint drips can be frustrating and difficult to fix, but with the right tools and techniques, you can make your paint job look flawless. In this article, we’ll show you how to fix paint drips like a pro and get your walls looking smooth and flawless. So, grab your paintbrush and let’s get started!
What Causes Paint Drips?
Paint drips can be a frustrating and unsightly problem when you’re trying to achieve a smooth and even finish on your walls or furniture. Understanding the causes of paint drips can help you prevent them from occurring and avoid having to fix them later on.
Overloaded Brush
One of the most common causes of paint drips is overloading the brush or roller with too much paint. When there is too much paint on the applicator, it can become heavy and difficult to control, causing the excess paint to drip off and create a mess. This is especially common with novice painters who may not have a good sense of how much paint to apply.
Low-Quality Paint
Another cause of paint drips is using a low-quality paint or applying paint that has been thinned too much. Low-quality paint can be prone to dripping because it may not have the right consistency or viscosity to adhere properly to the surface. Thinned paint can also be problematic because it becomes more runny and difficult to control, making it more likely to drip.
Humidity
In addition to these causes, painting in humid or hot conditions can also lead to paint drips. High humidity can cause the paint to take longer to dry, which means that it is more likely to run and drip. Similarly, painting in hot conditions can cause the paint to dry too quickly, which can also lead to drips as the paint doesn’t have enough time to settle properly on the surface.
How to Avoid Paint Drips
To avoid paint drips, it’s important to properly prepare the surface you will be painting on. This means cleaning and sanding the surface to create a smooth and even surface. It’s also important to make sure the surface is completely dry before painting, as any moisture can cause paint drips.
When painting, it’s best to use a quality brush or roller that is appropriate for the type of paint you are using. A good brush or roller will apply the paint evenly and prevent drips.
It’s also important to use the right amount of paint. Overloading the brush or roller with too much paint can lead to drips and a messy finish. Instead, apply a moderate amount of paint to the brush or roller and work in small sections.
Finally, be patient and take your time. Rushing through a paint job can lead to mistakes and drips. Take breaks if needed and allow each coat to dry completely before applying another layer.
How to Fix Paint Drips
1. Ensure the paint is fully dry
Before you begin, it’s important to ensure the paint is fully dry. Working on wet or gummy paint will just make the issue worse, and can lead to unsightly blemishes on your wall. While you might want to fix it right now, be patient!
2. Lightly sand over the area
Use a fine-grit sandpaper to lightly remove the paint in the drip. Sanding will smooth out your surface so you can put another coat of paint on.
Be careful to only sand the drip and not the surrounding wall. Sanding the rest of the wall increases the area you have to repaint and repair. It can also make the wall surface to be uneven, which would make the area stick out.
3. Use a damp cloth to wipe off the dust
Use a damp cloth to remove all traces of sanding. You want the wall to be as clean as possible so you can paint it without clumping up or showing signs of previous drips.
4. Assess and repair if necessary
Now that the dust from sanding has been removed and the wall is clean, you can check to see if the wall is smooth and even. If you ended up removing a little more than you intended while sanding, now is the time to repair that before repainting.
You’ll want to use some glazing putty to even out the surface. Apply it in a smooth layer to fill in the area with a putty knife, then once it is dry, sand it according to the package directions.
You might want to prime the area over the putty before painting if you’re not using a paint that is a 2-in-1 paint and primer.
5. Re-paint the area
Use a small brush or roller, depending on how big the area is, and apply paint over the previously sanded area in smooth strokes. Don’t go too thick with this layer! You just want to seal your surface again. The goal here is to get it evenly covered without making any noticeable marks and blending the area back into the rest of the paint.
How to Fix Paint Drips that Are Still Wet
If your paint drips are still wet, you’re in luck! Going over them again with your brush or roller is usually enough to fix the issue.
If the paint is tacky, however, it’s best to wait until the paint is dry to solve the problem, as trying to use your brush or roller could just make it worse.
Can I Sand out Paint Drips without Repainting?
While it would be nice to be able to just sand out the paint drip without repainting, that wouldn’t be a good idea.
While you might get the area where the paint drip was perfectly flush with the rest of the paint with some sanding finesse, it would look like the part where the drip was is a different color than the rest of the wall. This is because sanding creates a rougher surface in that section, which causes light to bounce on it differently and makes the color look different. This is why it’s still important to repaint that section to blend it back into the rest of the wall once you sand it.
What Grit Sandpaper Should I Use for Paint Drips?
Depending on the amount of paint that you need to remove, different sandpaper grits will work better for you. 220 grit sandpaper will take off the paint drip quickly and cleanly, but you might want to switch to a finer grit paper as you get closer to the surface, such as something in the 300-400 range.
Should You Repaint Over an Old Paint Drip?
When getting ready to repaint a wall, you might notice an old paint drip you hadn’t before. While it’s tempting to just paint over this old drip because you hadn’t noticed it before, it’s best to remove the drip before you begin painting.
It is much easier to remove a drip before you paint the whole wall than to decide you should have removed it after and then have to blend that section back into the new paint after removing the drip.
Conclusion
In conclusion, paint drips can be frustrating to deal with, but they are not impossible to fix. The key is to catch them early and take action quickly. With the right tools and techniques, you can easily remove paint drips and achieve a smooth, even finish on your painting project. Remember to take the necessary precautions to avoid paint drips in the first place, such as using a quality paintbrush and taking your time while painting. With a little patience and attention to detail, you can achieve a professional-looking paint job that you can be proud of.

![Is It Worth It to Replace a Refrigerator Compressor? [ANSWERED]](https://porchandplanter.com/wp-content/uploads/2021/09/worth-it-to-replace-refrigerator-compressor-768x402.jpg)